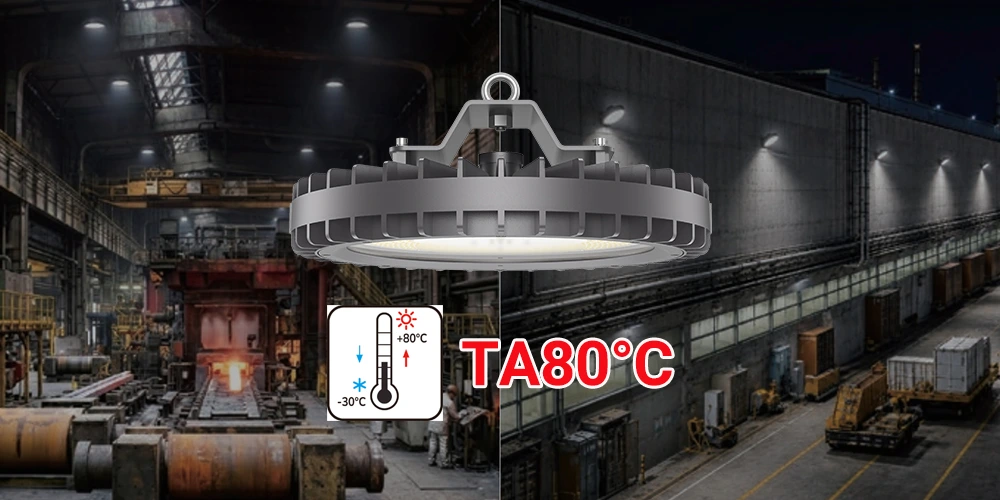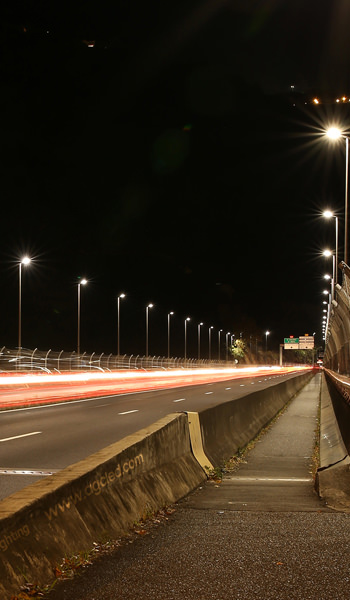

Bollard lights are used for outdoor applications. The aesthetic designs of bollard lights add value to both private gardens and public areas. Generally, bollard lights are not taller than 1.5 m in a vertical post, providing smooth and soft lighting for pedestrians. Since bollard lights are designed for outdoor lighting, they should be able to withstand harsh environments. Common resistance to water, dust, and impact is required for bollard lights.
AGC also provides LED bollard lights for outdoor use. BL01 is one of the most robust and efficient bollard lights from AGC. This post would like to talk about how to install the BL01 LED bollard light. What we should keep in mind is ‘safety first’. Stay safe during installations.
What is BL01 LED bollard light
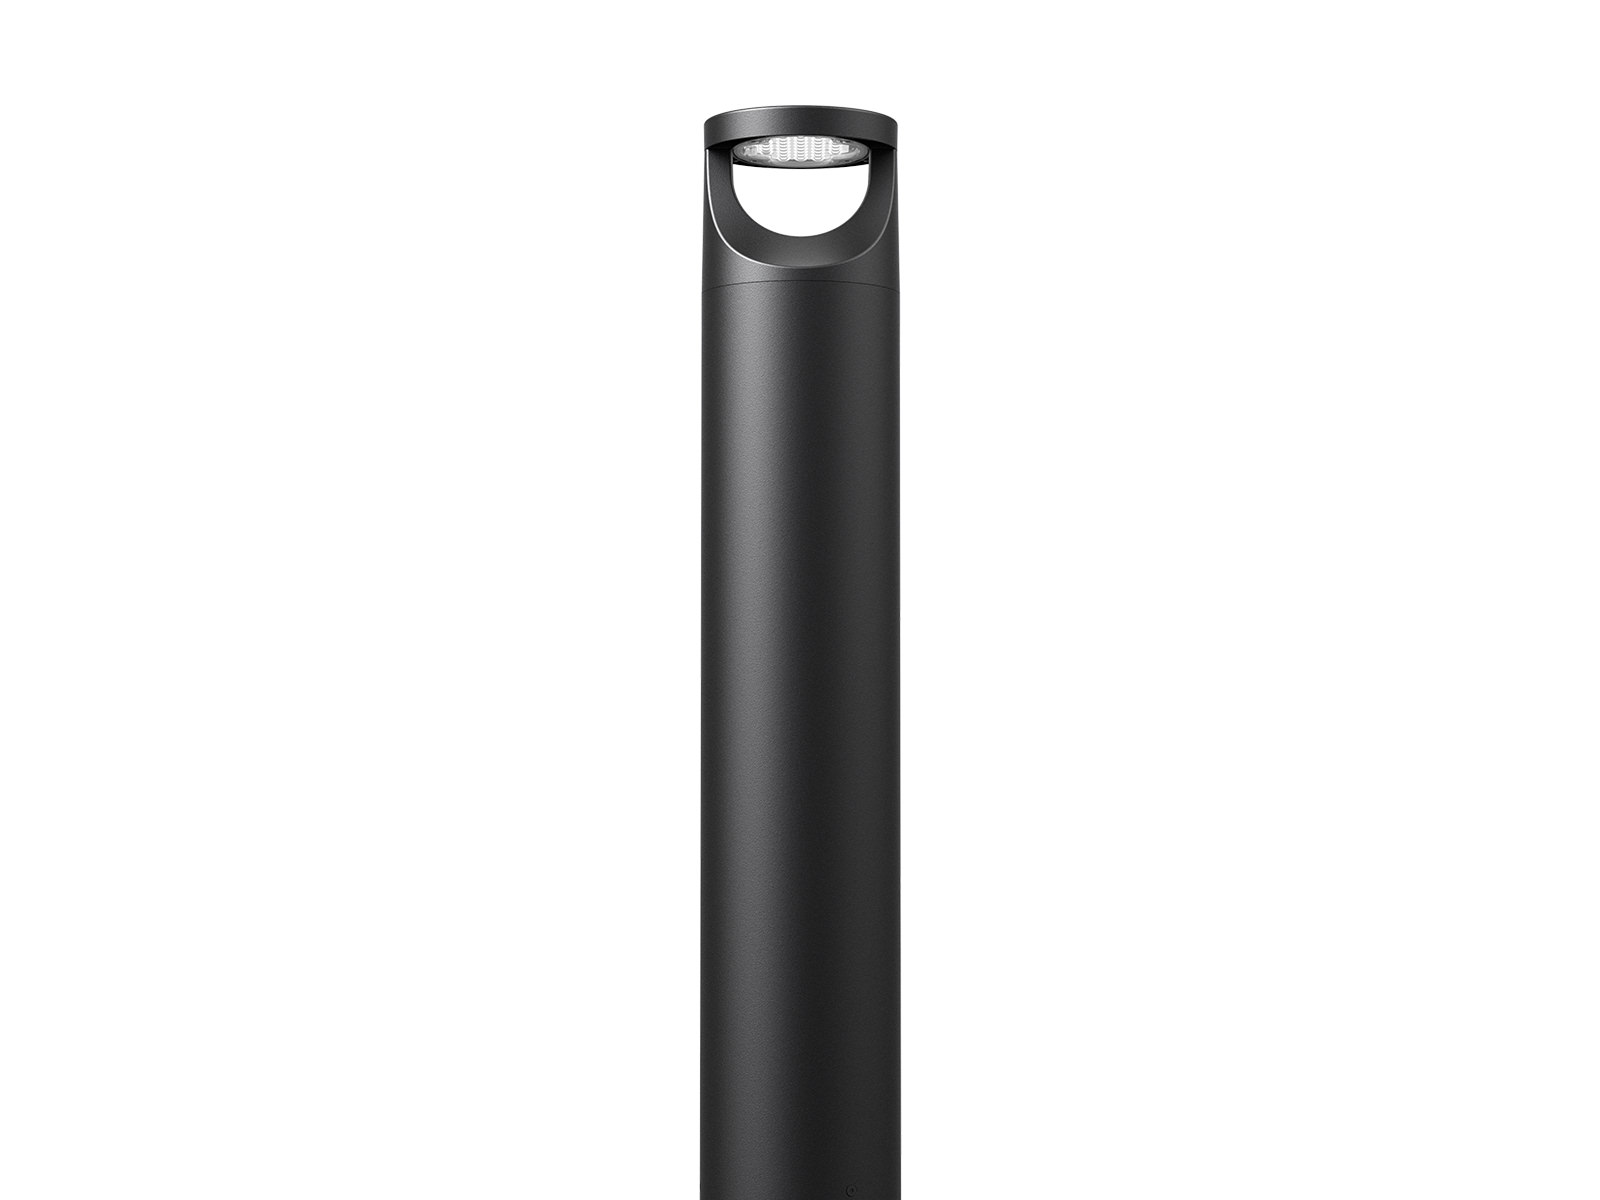
BL01 is an innovative bollard light that is robust and efficient. With an IP66 rating and an IK10 rating, BL01 can withstand harsh outdoor environments. Regardless raining or high temperatures, BL01 is still functional.
The power range includes 14W and 24W. The efficacy of BL01 is up to 90lm/w, bringing high brightness to the space without consuming a large amount of energy.
To help you save on electricity bills and achieve flexible control, smart controls such as DALI and 1-10V dimming are available.
BL01 looks like a big smile face, creating a pleasant ambiance and guiding people safely on their way. A visor is optional for back-light control, reducing trespass to surrounding areas.
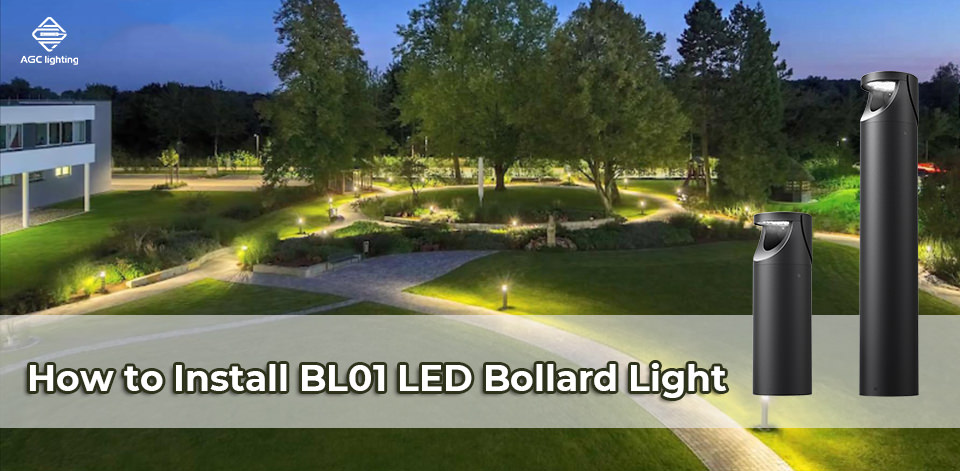
Thanks to its gorgeous appearance and highlighting performance, the BL01 bollard light can be widely used in squares, parks, gardens, sidewalks, pathways, etc.
Two heights (0.5m /0.9m) are optional for ground mounting, meeting your different needs.
How to install BL01 LED bollard Light
cautions
Before installation, please note the following cautions:
- Be sure you have properly turned off the power before installation.
- All products should be installed by a licensed contractor or electrician.
- All products should be installed in accordance with national and local electrical code requirements.
- Specific installations vary from brands and products; this instruction applies only to the BL01 LED bollard light from AGC.
1. Grounding for BL01 LED bollard light
BL01 bollard light is designed for ground mounting. Appropriate grounding is critical for safe operation. First, confirm the position for placing the bollard light. Then, dig a hole that is deep enough to place the bollard light. (suggested concrete column size: 250mm * 250mm * 300mm) Run proper wiring to the hole to supply power for the light. Place a conduit in the hole for wiring. Next, fill the hole with concrete.
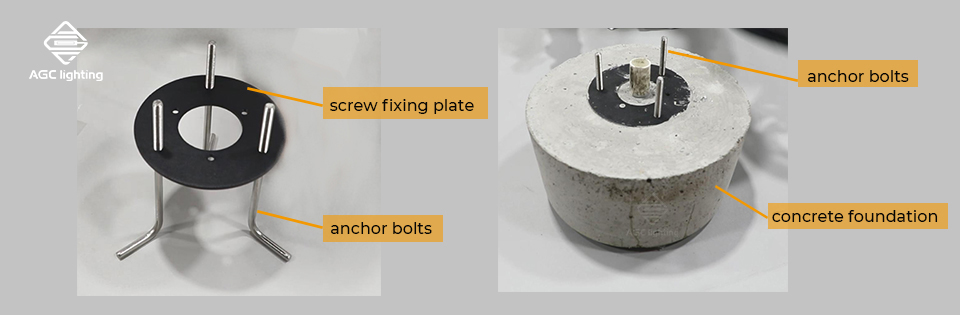
2. Install the anchor bolts onto the screw fixing plate
AGC provides screw fixing plates for accurate anchor bolt positioning. Install the three anchor bolts to the screw fixing plate. And then set them into concrete. It is important that the screw fixing plate be level. Make sure the anchor bolts are allowed to secure. Furthermore, place the anchor bolts and screw fixing plate properly and allow the wires to pass through the center of the screw fixing plate.
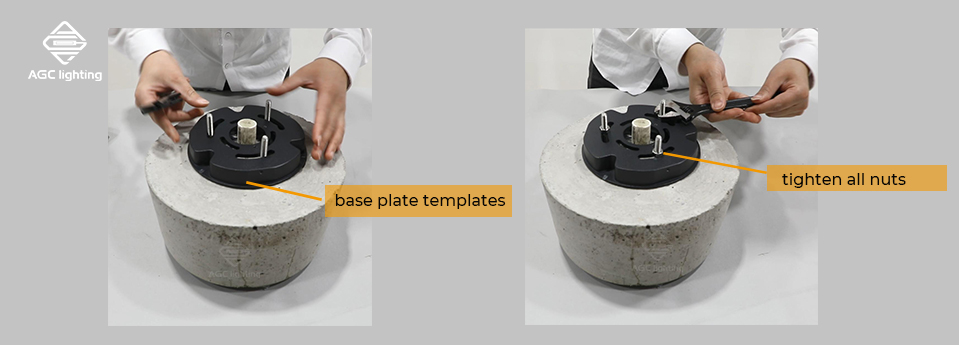
3. Install the base plate template on the screw fixing plate
After the concrete has cured, place base plate templates over anchor bolts. Then install the base plate templates on a screw fixing plate with nuts. Tighten all nuts until the base plate template is secure. Again, make sure the base plate template is level. The orientation of the bollard is vital. The direction of light should be on both sides of the notch in the base plate template.
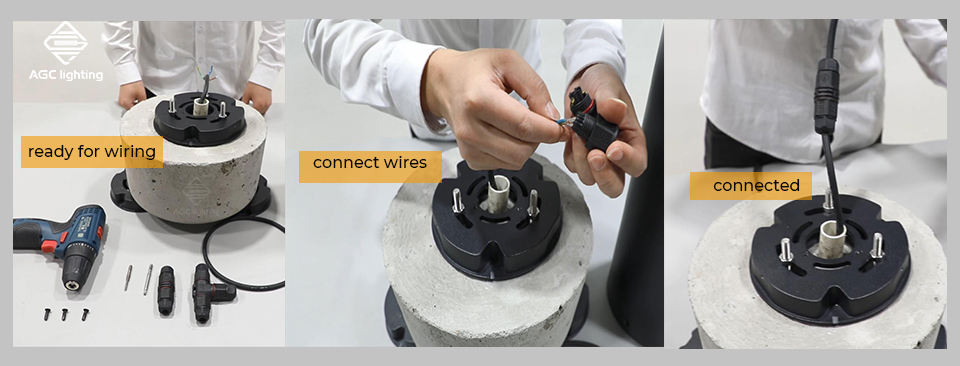
4. Connect the supply lines from the conduit to the fixture wires properly
Install the bollard head to the body with screws. Tighten all screws until it is secure. Connect the supply lines from the conduit to the fixture wires properly. Do not wire the dim cord to the high voltage, or the dimming function will fail. Ensure the processes are accomplished by licensed electricians. For the detailed wiring diagram, please contact us.
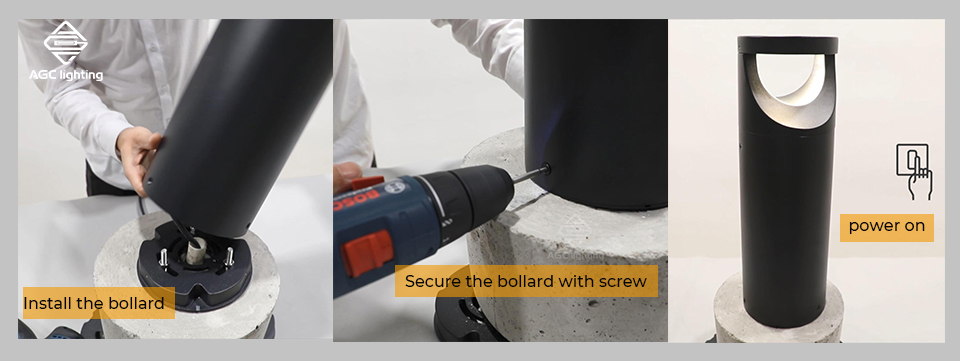
5. Install the bollard onto the base plate templates
Attach the bollard to the base plate templates. Secure the bollard with screws and tighten the screws. Now, you have completed the installation of the BL01 bollard light. Be sure the orientation of your bollard is right. The 3 screw holes (one hole of the bollard head and two holes of the bollard body) and notch marks must be in one line. If not, you may have the wrong installation.
Would like more information about the BL01 bollard light? You can contact us to find more information.
Video for installation of BL01: